MarkBarbieri
Semi-retired
- Joined
- Aug 20, 2006
Don't Forget Real Life
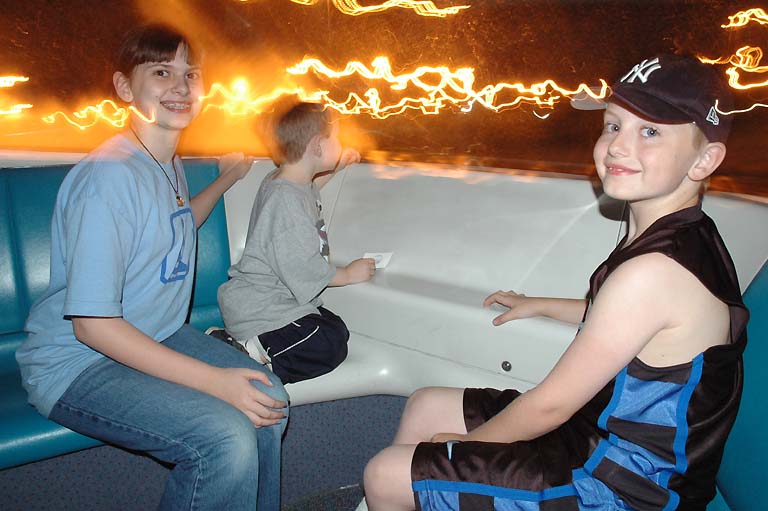
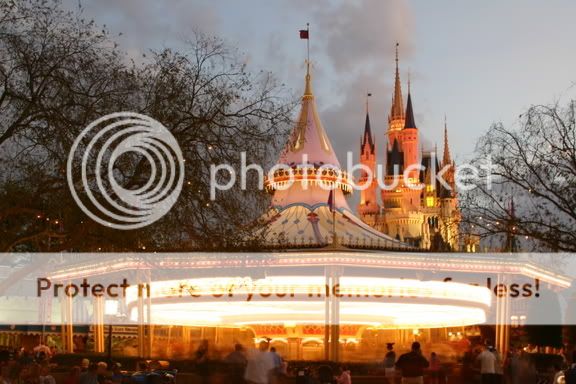
Some people are so obsessed with their new digital camera or camcorder that they use it constantly on their trips. Remember to actually live your life on vacation rather than transform yourself into some sort of traveling photo/video director. If your memory of Spectro-Magic has a little plastic frame around it and exposure information at the bottom, you may have spent too much time recording your vacation and not enough time vacationing.
The same goes for posed photos. If you force everyone to stop what they are doing and form up for a group shot once or twice a day, youre probably having a good time. On the other hand, if you do that once or twice an hour, youll end up with well posed shots of angry kids.
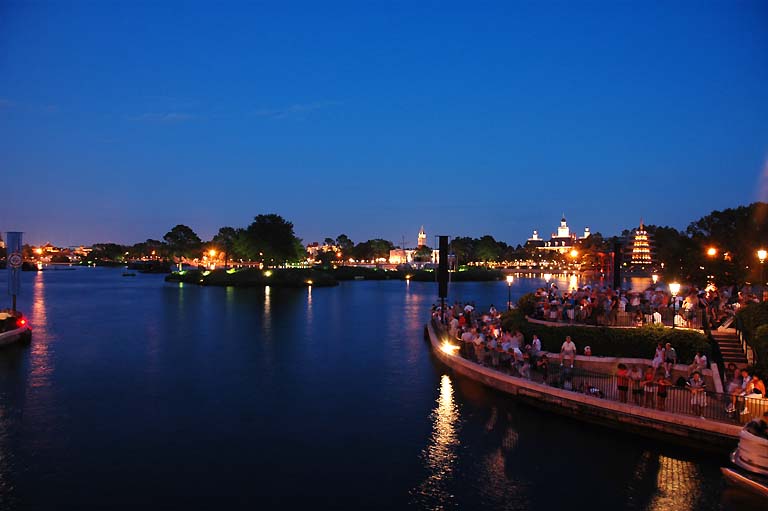
Make sure that you let strangers enjoy their vacation as well. Its terribly annoying to idle in one spot while someone has an entire walkway blocked off for a picture that takes them 5 minutes to get right. If you must block a crowd to get your shot, be quick about it.
Some people are so obsessed with their new digital camera or camcorder that they use it constantly on their trips. Remember to actually live your life on vacation rather than transform yourself into some sort of traveling photo/video director. If your memory of Spectro-Magic has a little plastic frame around it and exposure information at the bottom, you may have spent too much time recording your vacation and not enough time vacationing.
The same goes for posed photos. If you force everyone to stop what they are doing and form up for a group shot once or twice a day, youre probably having a good time. On the other hand, if you do that once or twice an hour, youll end up with well posed shots of angry kids.
Make sure that you let strangers enjoy their vacation as well. Its terribly annoying to idle in one spot while someone has an entire walkway blocked off for a picture that takes them 5 minutes to get right. If you must block a crowd to get your shot, be quick about it.


 " Make sure that you let strangers enjoy their vacation as well. Its terribly annoying to idle in one spot while someone has an entire walkway blocked off for a picture that takes them 5 minutes to get right. If you must block a crowd to get your shot, be quick about it"